Press any key to start...or Press Ctrl+C to cancel #按回车继续
... ... ...
执行完需要重启
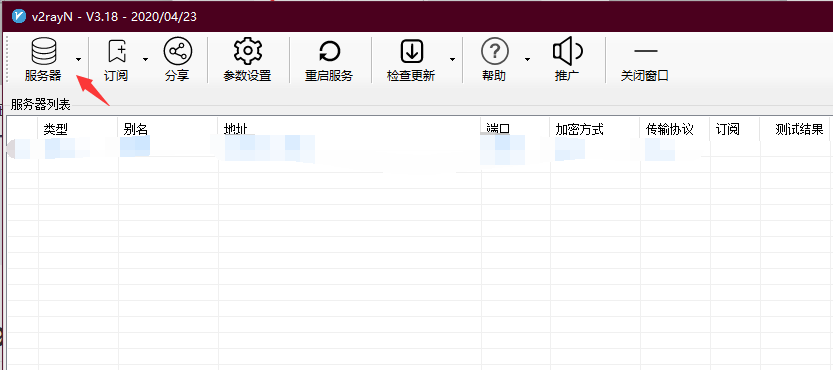
6.启动服务
1
[root@lee ~]# systemctl start v2ray
1 2 3 4 5 6 7 8 9 10 11 12 13 14 15 16 17
[root@lee ~]# systemctl status v2ray
● v2ray.service - V2Ray - A unified platform for anti-censorship
   Loaded: loaded (/etc/systemd/system/v2ray.service; enabled; vendor preset: disabled)
   Active: active (running) since Tue 2020-05-19 21:34:53 CST; 1 day 22h ago
     Docs: https://v2ray.com
           https://guide.v2fly.org
 Main PID: 938 (v2ray)
   CGroup: /system.slice/v2ray.service
           └─938 /usr/bin/v2ray/v2ray -config /etc/v2ray/config.json

May 19 21:34:53 lee systemd[1]: Started V2Ray - A unified platform for anti-censorship.
May 19 21:34:53 lee v2ray[938]: V2Ray 4.23.1 (V2Fly, a community-driven edition of V2Ray.) Custo...md64)
May 19 21:34:53 lee v2ray[938]: A unified platform for anti-censorship.
May 19 21:34:54 lee v2ray[938]: 2020/05/19 21:34:54 [Info] v2ray.com/core/common/platform/ctlcmd...sage>
May 19 21:34:54 lee v2ray[938]: v2ctl> Read config:  /etc/v2ray/config.json
May 19 21:34:54 lee v2ray[938]: 2020/05/19 21:34:54 [Warning] v2ray.com/core: V2Ray 4.23.1 started
Hint: Some lines were ellipsized, use -l to show in full.